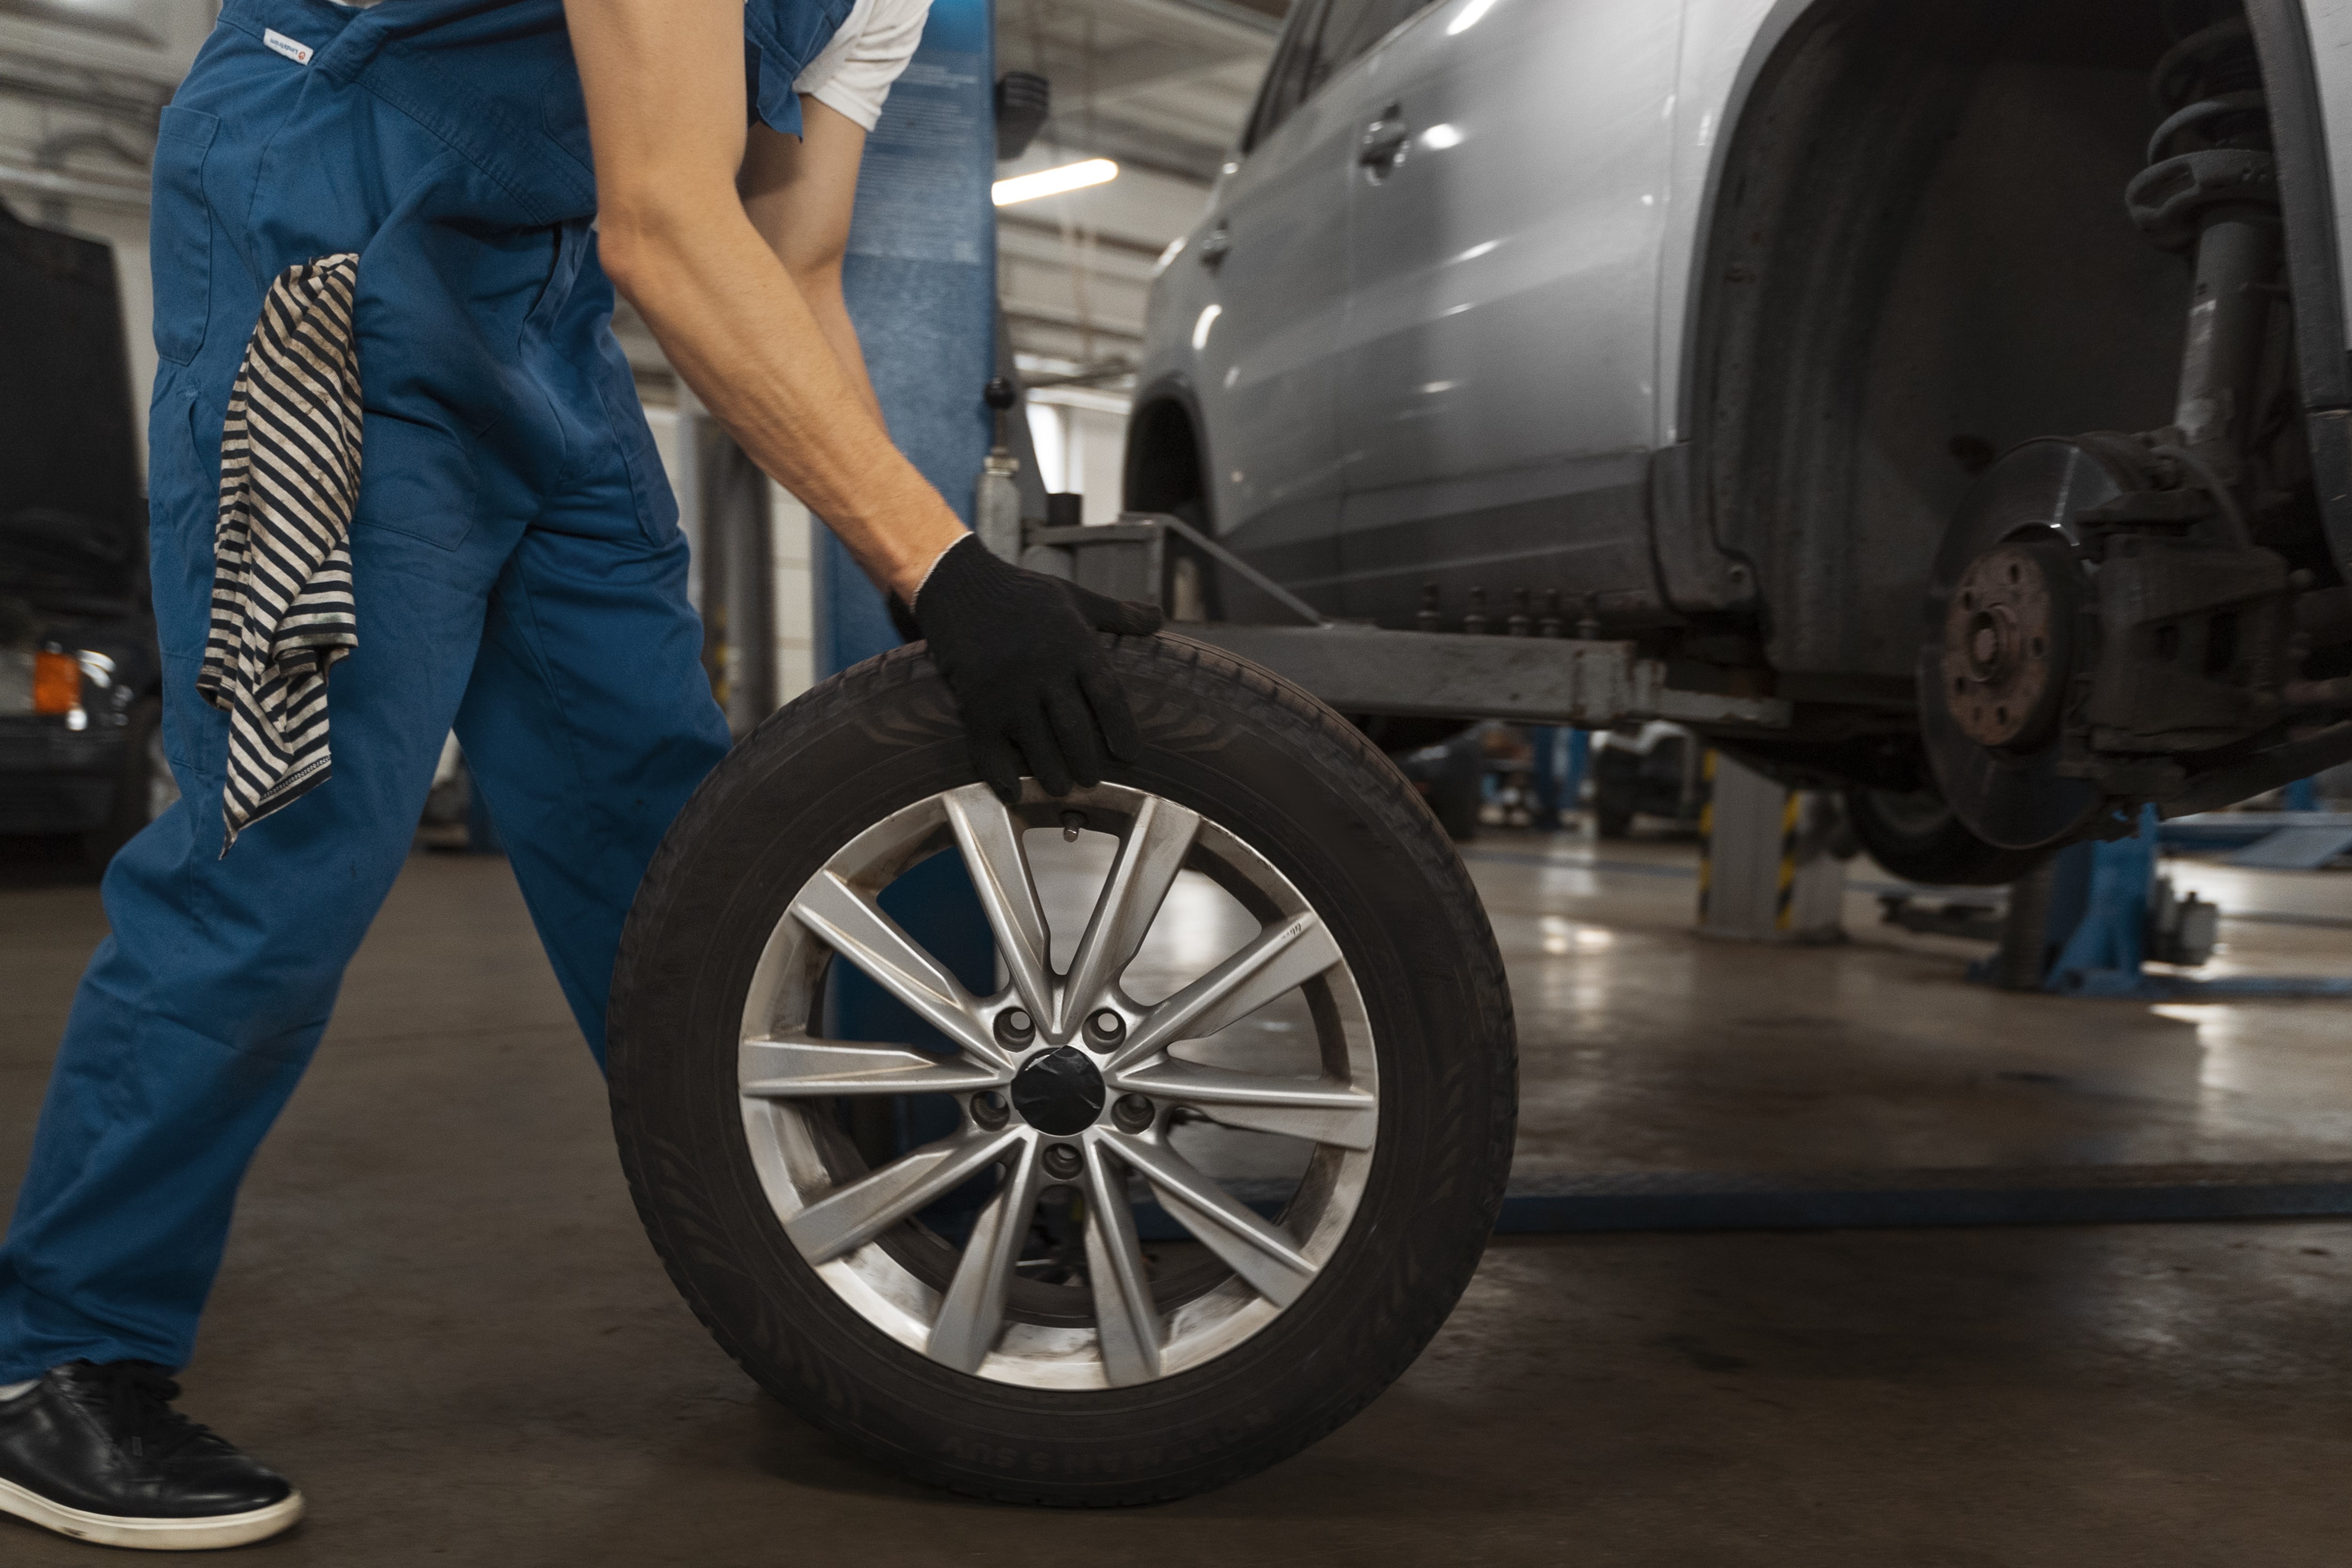
Regular car maintenance is crucial to ensure your vehicle runs smoothly and lasts for many years. One of the simplest yet most essential tasks you can perform is checking your car’s oil. Regular oil checks help prevent engine damage and keep your vehicle running at its best. In this blog, we’ll guide you through the process of checking your car’s oil, so you can confidently keep your engine in tip-top shape.
Why Check Your Oil?
Oil is the lifeblood of your car’s engine. It lubricates moving parts, reduces friction, and helps dissipate heat. Over time, oil can become dirty and lose its effectiveness. If your engine runs with low or dirty oil, it can lead to premature engine wear, reduced fuel efficiency, and costly repairs.
When to Check Your Oil
1. Regular Maintenance: To ensure your vehicle’s optimal performance, aim to check your oil every 1,000 miles or with each fuel fill-up, depending on your vehicle’s age and condition.
2. Before a Long Trip: If you’re embarking on a long road trip, check your oil to ensure your engine is in good shape for the journey.
3. If You Notice Warning Signs: If you observe any signs of engine trouble, such as strange noises, decreased performance, or warning lights on your dashboard, check your oil immediately.
How to Check Your Oil
1. Park on a Level Surface: Ensure your car is parked on a flat, level surface, and the engine is off. Let it cool down for a few minutes to allow the oil to settle.
2. Open the Hood: Locate the hood release lever inside your car, typically under the steering column, and pull it. Then, release the safety latch under the hood and lift the hood open.
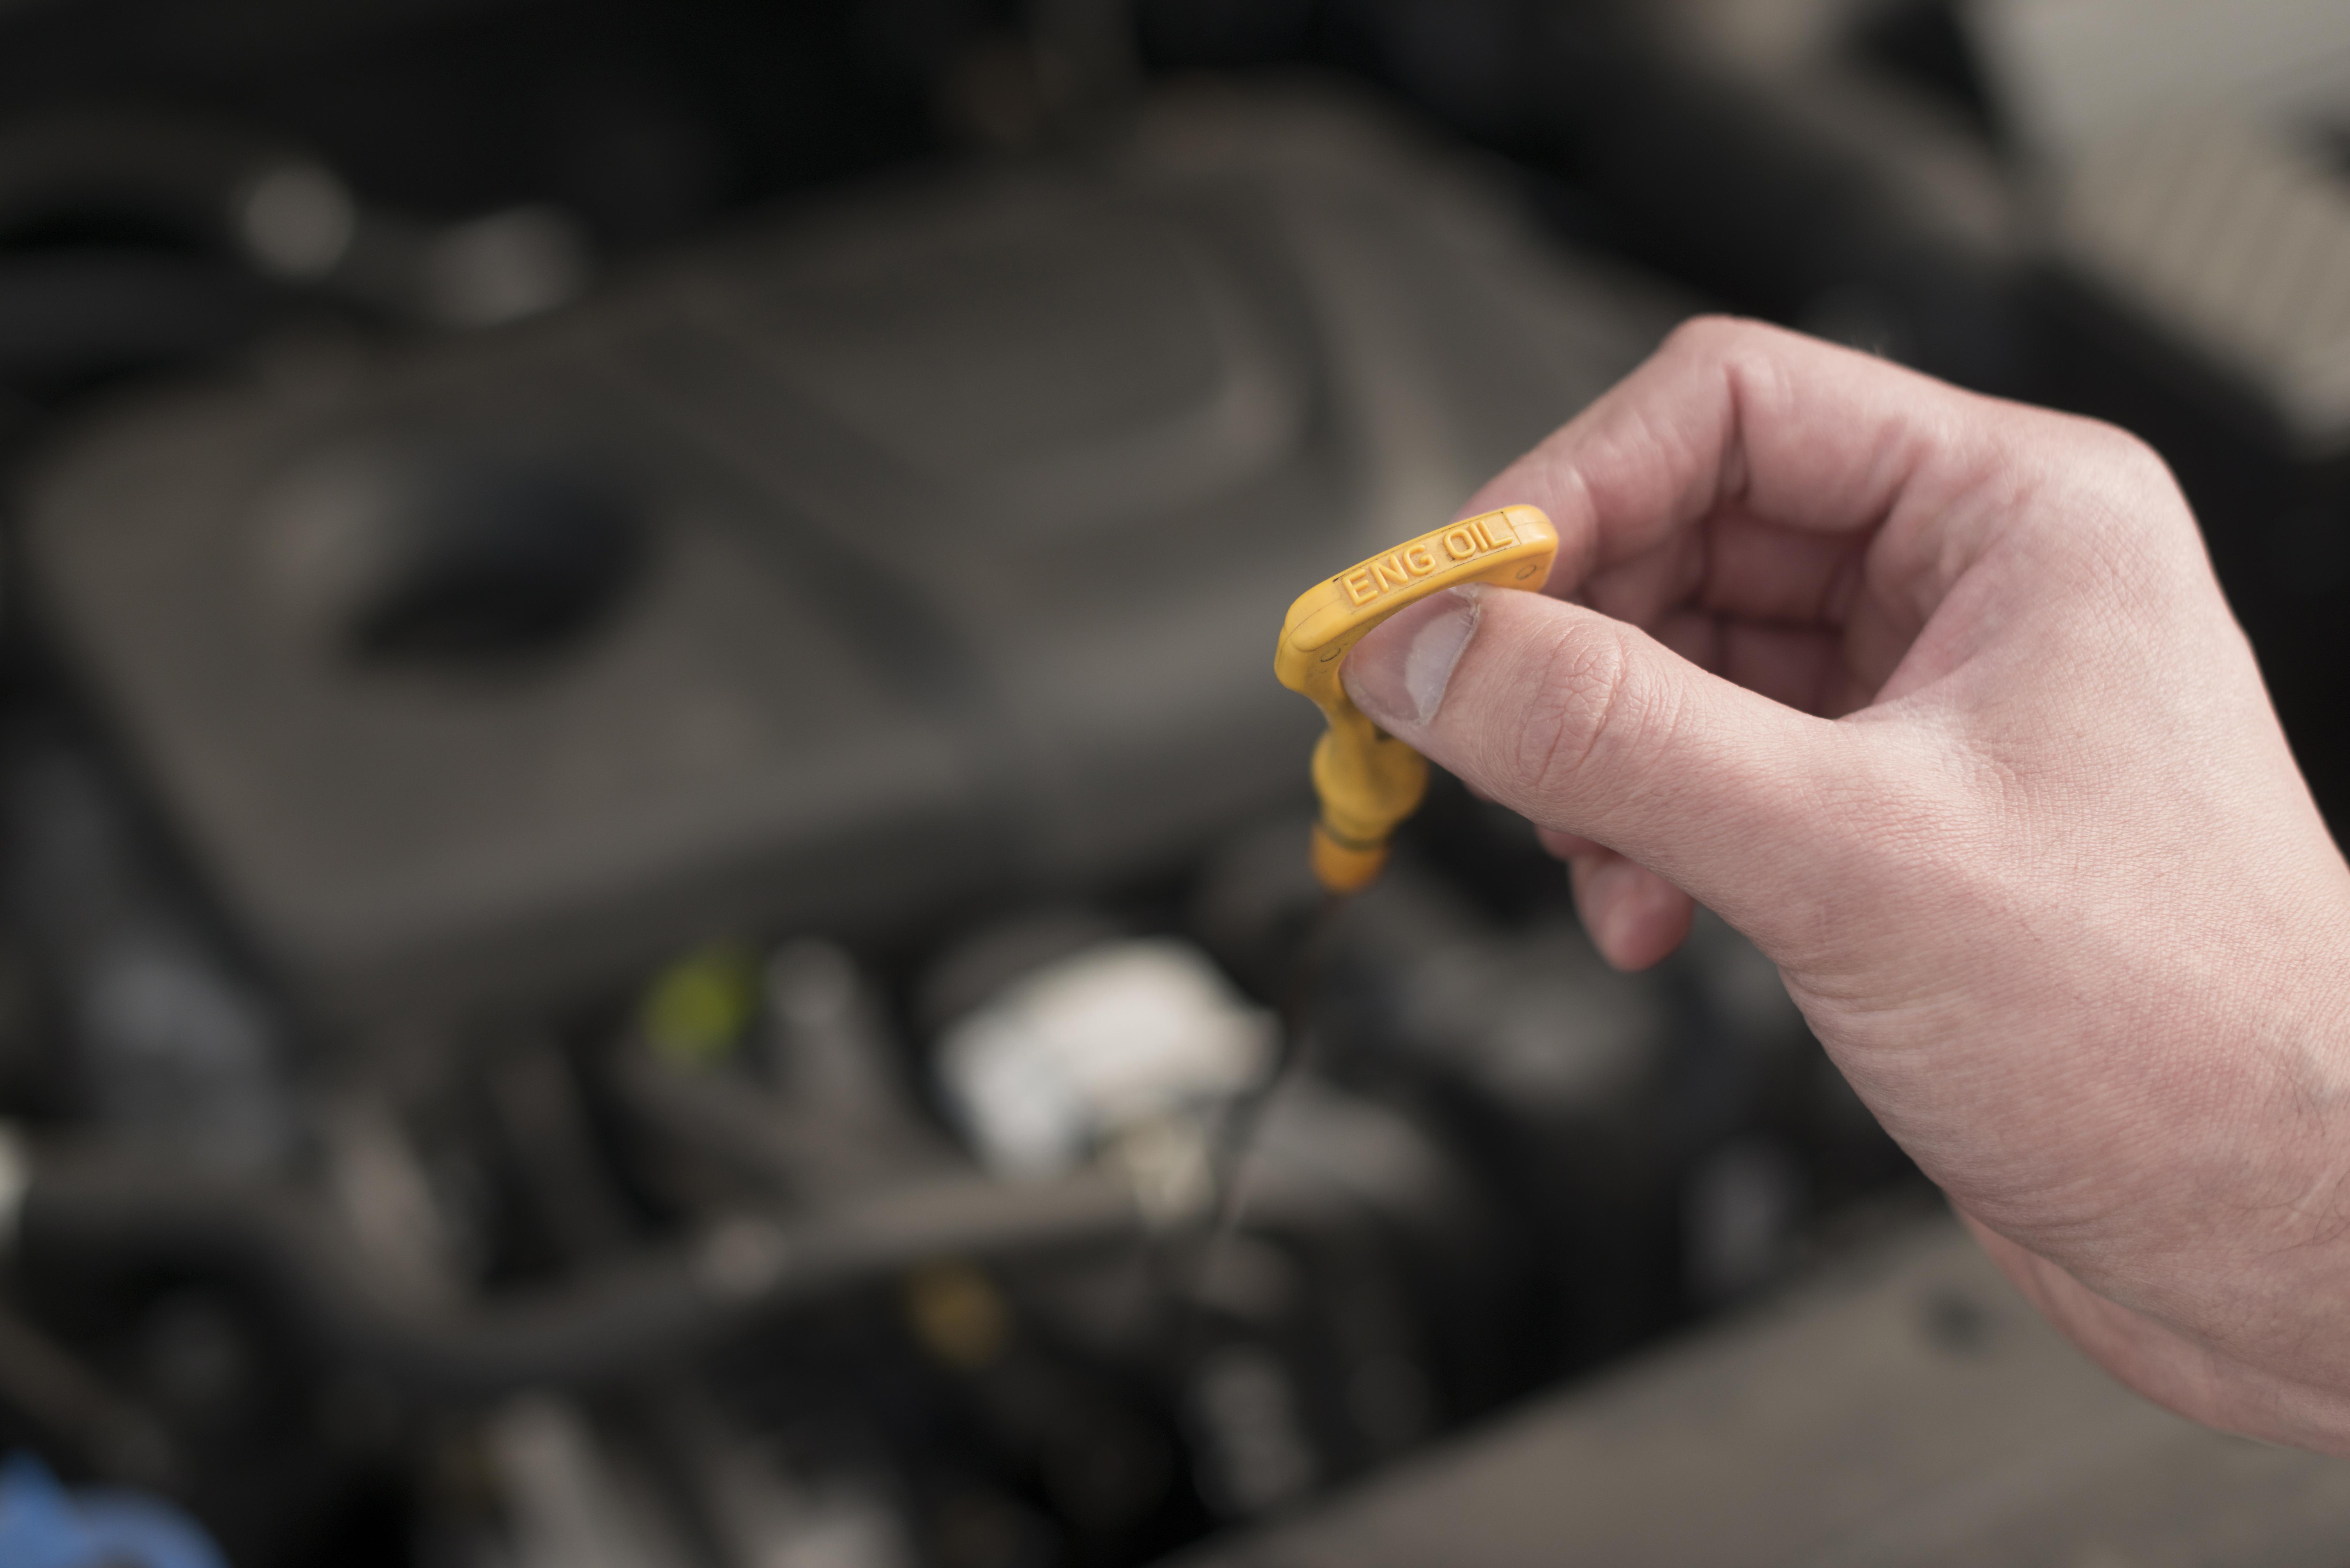
3. Locate the Dipstick: The oil dipstick is usually bright yellow or orange, with a looped handle and marked with “Engine Oil.” It’s connected to the engine block.
4. Remove and Clean the Dipstick: Pull the dipstick out of its tube and wipe it clean with a rag or paper towel. This ensures that you get an accurate reading.
5. Reinsert and Check: Insert the dipstick back into the tube fully, and then pull it out again. Observe the oil level on the dipstick. It should fall between the minimum and maximum marks.
6. Interpret the Reading: If the oil level is within the safe range, you’re good to go. If it’s near or below the minimum mark, it’s time to add more oil. Ensure you’re using the correct type of oil for your vehicle.
7. Add Oil if Necessary: Open the oil filler cap on the engine, usually marked with “Oil,” and add a small amount of oil at a time. Recheck the dipstick until the level is in the safe range. Don’t overfill, as this can also harm your engine.
8. Close the Hood: Once you’ve completed the check and added oil if necessary, close the hood securely.
Conclusion
Checking your car’s oil is a simple yet vital task that can prevent engine damage and save you from costly repairs down the road. Regular checks ensure your engine runs smoothly and efficiently. By following the steps outlined in this guide, you can confidently maintain your vehicle and keep it in top condition. Remember, a few minutes spent checking your oil can extend the life of your car and provide you with peace of mind on the road.
And remember, Fix N Fuel is always here to assist you with checking your oil and changing it on a regular maintenance schedule.
Tags: maintenance, oil change